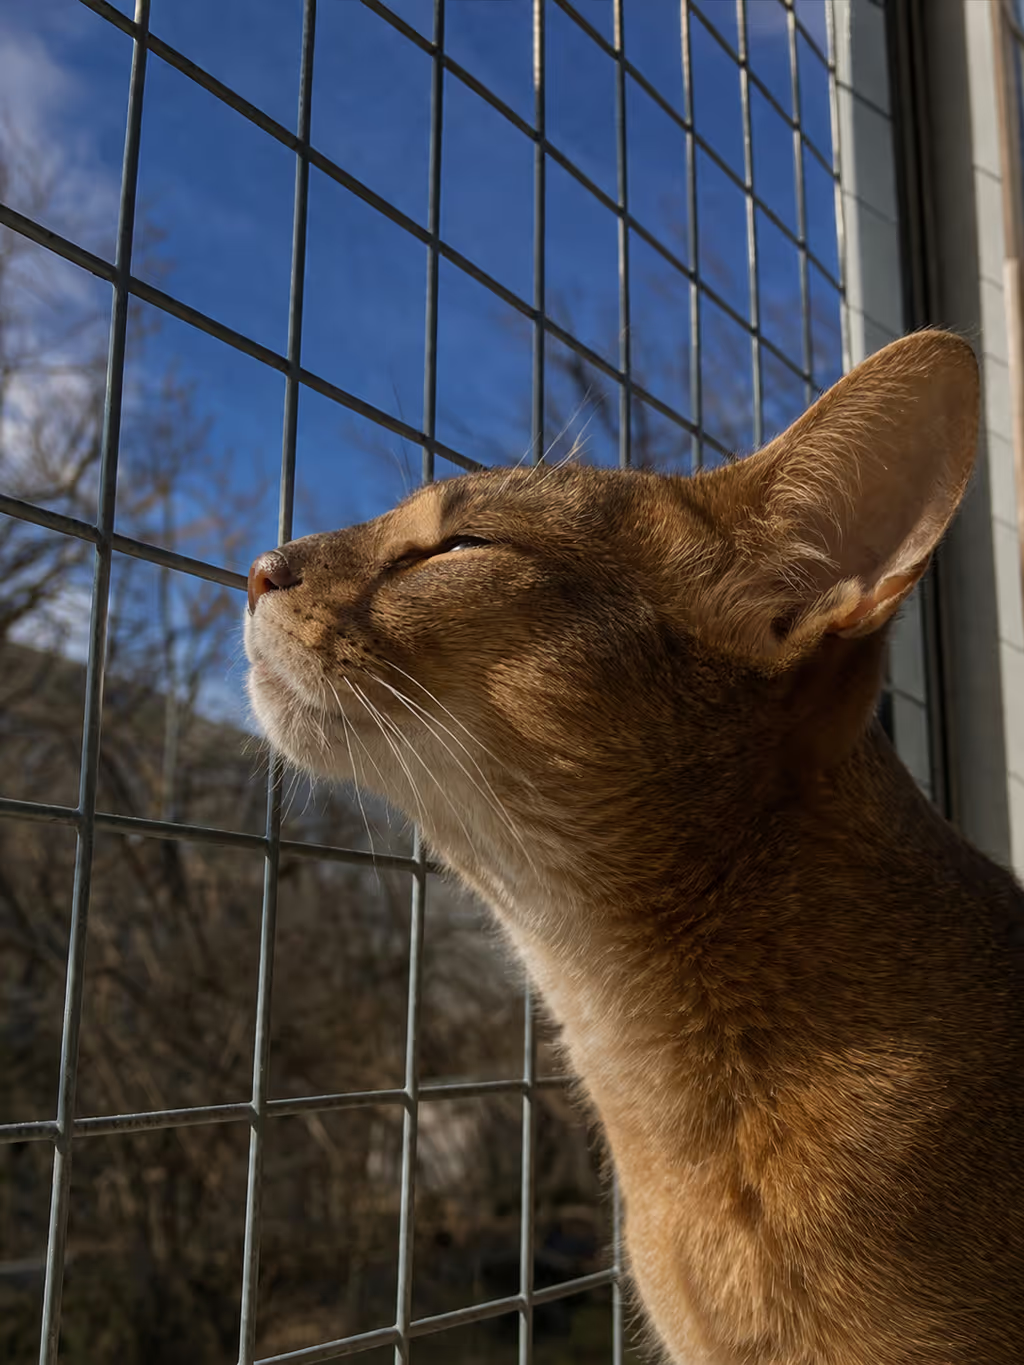
A cat net is the first thing most people look for once they realise their cat and their balcony don’t mix. Good call — but not all nets are equal, and most escapes happen because of how a net was fitted, not what it was made of. Here’s how to choose the right type and mesh size, fix it without drilling, and close the gaps cats actually use.
Why a Cat Net Is Worth Getting Right
Cats don’t read height the way we do. A bird skims past the railing, a door slams, a moth lands on the balcony edge — and a cat that has sat calmly on that same spot for months simply goes. Vets see the results often enough in towns and cities that there’s a name for it: high-rise syndrome. Broken jaws, chest injuries, fractured legs. And it isn’t only the top floors — second and third-storey falls cause plenty of damage too.
A cat net for your balcony is the most common fix, and for good reason: it’s affordable, it’s widely available, and it keeps the view. But “cat net” covers everything from a thin garden net held on with cable ties to rigid welded steel mesh clamped to the railing. Those are very different products. This guide walks you through choosing the right type, the right mesh size, and — the part most people skip — fitting it so it actually holds.
The Three Types of Balcony Cat Net
1. Nylon or polyester netting
This is what most people picture: a soft, knotted or knotless net, usually black or transparent, sold by the square metre. It’s the budget option, and it’s a legitimate one. It’s light, easy to cut, nearly invisible from a few metres away, and many kits come with tension wire and fixing hooks.
The trade-offs are real, though. Fabric nets need a frame or tensioned wire to stay taut, which usually means anchor points on the wall or ceiling. Sunlight breaks the fibres down over time, so a net that feels strong in spring can be brittle a few summers later — a south-facing balcony ages a net far faster than a shaded one. And a bored cat can chew or claw through thin strands. Look for nets that are UV-stabilised and, ideally, wire-reinforced, and plan to inspect and replace them.
2. Wire or wire-reinforced netting
A step up: a net with a steel wire core inside each strand, or a flexible stainless wire mesh. It’s far more chew-resistant than plain nylon and lasts longer outdoors. It still behaves like a net, though — it needs tension to stay flat and it sags if the fixings loosen.
3. Welded steel mesh panels
Rigid panels of welded wire, usually galvanised and often powder-coated. Because the panel holds its own shape, it doesn’t need tensioning and it can’t sag. Cats can’t chew through it, sun doesn’t weaken it, and a good panel is fitted once and left alone for years. The downsides: it costs more up front, it’s heavier, and it has to be made to size, because you can’t trim steel mesh with scissors on the day.
That’s the category we build in — our steel protective mesh for balconies and windows is cut to your exact opening and clamps on without a single hole, so it’s worth a look if you’re torn between a net and something more permanent.
If you want the full head-to-head on durability and cost, we’ve written a separate comparison of cat nets versus steel enclosures. The rest of this guide is about choosing and fitting whichever option you go for.
Mesh Size: 5×5 cm or 2.5×2.5 cm?
Mesh size is the single spec that decides whether a net actually contains your cat. The rule of thumb: if a cat can get its head through, it can usually get its body through.
For adult cats, a 5×5 cm mesh is the widely used standard. It’s small enough that an adult can’t push through, open enough to keep airflow and the view, and it doesn’t catch much dirt.
For kittens and very small cats, go for 2.5×2.5 cm. Kittens are astonishingly good at squeezing through gaps you’d swear were too small, and they climb more. If you have a kitten now, fit the finer mesh from the start rather than planning to upgrade later.
A quick check before you buy: measure the widest part of your cat’s head. If the mesh opening is anywhere near that, go smaller.
Attaching a Cat Net Without Drilling
“Cat net balcony without drilling” is one of the most searched phrases in this area, and it makes sense — most people rent, or live in buildings where the façade belongs to the community. Here are the main no-drill methods, from weakest to strongest.
Adhesive hooks and pads
Cheap and fast, but the weak point of many setups. They hold on smooth tiles or glass, and let go on rendered walls, painted surfaces and anything that gets hot in the sun. Fine for holding up a light net’s edge in a sheltered spot; not something to rely on where a cat will lean or jump.
Tension rods and pressure poles
Spring-loaded poles wedged between floor and ceiling of a covered balcony create a frame you can hang a net from. They work well if you have a solid ceiling above, and they need re-tightening over time. On an open balcony with no ceiling, they aren’t an option.
Cable ties and railing clips
Tying the net to the railing uprights is simple and removable. It’s fine for the lower edge, but plastic ties go brittle in the sun, just like the net itself, so check them every season and replace any that look chalky or cracked.
Steel clamps and brackets
The strongest no-drill method: steel brackets that grip the railing, the balcony frame or the window frame mechanically. Nothing is glued, nothing pierces the wall, and it comes off cleanly when you move out. This is how our Protective Mesh is fixed, and it’s why it works in rented flats.
Do You Need a Roof or Top Net?
This is the question people forget until their cat answers it for them. Cats climb. If your balcony has a solid ceiling (the balcony above yours), you can run the net from the railing up to that ceiling and you’re enclosed on every side.
If your balcony is open to the sky — top floor, or a stepped-back terrace — a net that only goes up to railing height is a barrier for a calm, older cat and a climbing frame for an agile young one. You have two options: add an overhead net or panel, or run the side mesh high enough and angled inwards at the top so it’s very hard to climb over. Be honest about your cat. A sofa-loving senior and a young Bengal need very different setups.
How to Measure Your Balcony
Bad measurements are behind most of the gaps we see. Take your time with this bit.
Measure each side separately, not just “width × depth”. Balconies are rarely perfect rectangles, and walls often lean a centimetre or two. Measure the height at both ends of each run, from the floor to the top of the railing (or up to the ceiling if you’re enclosing to the top). Note where the railing uprights are and whether the railing is solid glass, metal bars or masonry, because that decides what you can clamp to. Photograph every corner, including where the railing meets the building wall — that junction is where gaps hide.
If you’re not sure what to measure on an unusual balcony, send us a photo on WhatsApp and we’ll tell you.
Common Failure Points — and How to Avoid Them
Corners and wall junctions
The most common escape route isn’t through the net, it’s round it. Where the railing meets the façade there’s often a gap of a few centimetres, sometimes behind a downpipe. Close every corner with the same mesh, overlapped, and fixed on both sides.
Sagging
A fabric net that has sagged creates a slack pocket a cat can push out or climb up. Keep tension wires tight, re-tension after the first few weeks as the net settles, and check again after windy weather. Rigid steel mesh doesn’t have this problem, which is one of the main reasons people switch.
Chewing and clawing
Some cats ignore a net completely; others treat it as a toy. If you see frayed strands or small holes, patch or replace that section straight away — a small hole becomes a big one fast. Persistent chewers are a good reason to go for wire-reinforced netting or steel.
The bottom edge
Cats will try to squeeze underneath a net that isn’t fixed along the floor or the lower railing rail. Secure the bottom edge along its whole length, not just at the corners.
Sun and age
UV damage is invisible until it isn’t. Give fabric nets a firm tug and look closely at the fixings at least once a season, and treat any brittleness or discolouration as a sign it’s time to replace.
Renting? What to Check First
Before you fit anything, read your tenancy agreement and any building rules on balconies and façades. Many buildings don’t allow drilling into external walls, and some restrict what can be visible from the street. That’s why no-drill fixing matters: clamps and brackets on the railing leave no trace, and a neutral colour — or one matched to your railing — keeps neighbours and landlords happy. It’s also worth a quick message to your landlord explaining it’s a removable safety measure for your cat; most are fine with that.
So Which Should You Choose?
If you’re on a tight budget, have a calm adult cat and a covered balcony, a good UV-stabilised net fitted carefully is a reasonable choice — just commit to checking it every season and replacing it when it ages.
If your cat chews, climbs or is still a kitten, if your balcony gets a lot of sun, or if you simply don’t want to think about it again, rigid steel mesh is the better long-term answer. Our Protective Mesh starts from 279€: welded galvanised steel, powder-coated in any RAL colour, in 5×5 cm or 2.5×2.5 cm for kittens, cut to your exact opening — a single window, a French balcony door or a full balcony railing run. It ships flat-packed with a video install guide, delivery is free across the EU, and we ship worldwide on quote. Every panel is made by hand in Poland.
And if what you really want is to give your cat time outside from a window rather than the whole balcony, the Cat Balcony window enclosure is the other route — but for most balcony-net searches, mesh is where to start.
Not sure which mesh size or layout fits your balcony? Send us your measurements or a photo and we’ll confirm the specification and price before anything is made. Protective Mesh from 279€, no drilling, free EU delivery.
get BalconyCat →