Cat-Proof My Apartment Balcony: What to Do, in Order
You want your apartment balcony to be safe for your cat. You want to do it without losing your deposit, without a DIY project that takes over your weekend, and without buying something that fails in six months. Here’s what to do, in order.
First: Know What You’re Working With
Before you buy anything, spend ten minutes on this assessment. It will save you from buying the wrong thing.
THE BALCONY TYPE: Is it a full platform balcony (you can walk on it)? Is it a Juliet balcony (floor-to-ceiling doors that open to a shallow external rail, no floor)? Is there a mix? Platform balcony: standard cat-proofing options apply. Juliet balcony: see our dedicated Juliet balcony guide — different problem, different solutions.
THE FLOOR: Ground floor or first — lower consequence from a fall, budget solutions viable. Second through fourth — moderate risk, net systems adequate if properly installed and regularly checked. Fifth and above — high risk, structural containment required, not net-based.
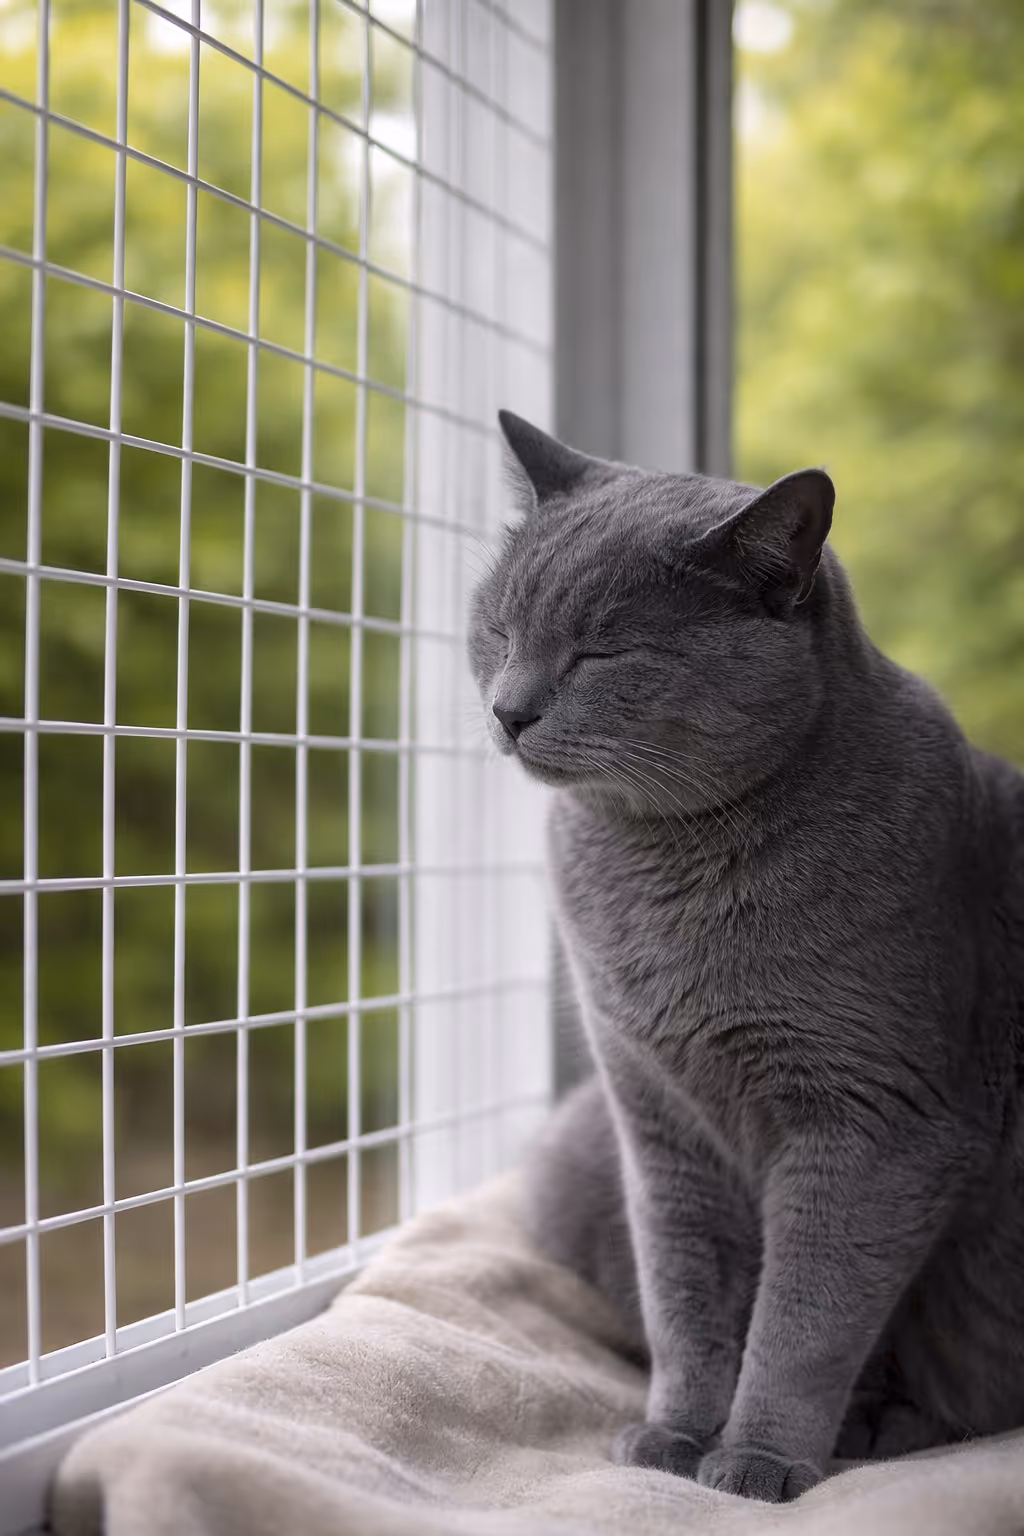
THE RAILING: Solid glass or concrete balustrade? Only the top edge needs closing. Open metalwork railing with vertical bars? Check the gap — if wider than 5cm, a horizontal cat can push through. Open horizontal rail with large gaps? The front face needs full closure, not just a top seal. YOUR CAT’S PROFILE: Kittens under 4 months need fine mesh (2.5cm). Adults with standard 5cm mesh. Has your cat previously escaped anything? If yes, treat them as maximum containment required.
Second: Decide Which Approach Fits Your Tenancy
RENTING (most apartment dwellers): You cannot drill into walls or window frames without landlord consent. This eliminates any solution requiring wall anchor fixings, timber frames screwed to the wall, or professional enclosures that drill into the building fabric. What remains available: net systems with hook-on or railing-clip attachments; modular panel systems with railing clips; window enclosures with bracket fixings to the window frame (the bracket grips the frame externally — no drilling).
OWNER-OCCUPIED: All options available. Drilling is permitted. This gives you access to more structural solutions including timber frame builds and professionally installed enclosures.
Third: Choose and Order the Right Product
For Renters on the Ground to Third Floor with a Calm Adult Cat
Best product: premium nylon balcony safety net with UV stabilisation. What to look for: high-denier (1.5mm+ netting thickness), UV stabilisation, mesh size 5×5 cm or smaller, railing-clip or hook-on attachment (no adhesive). Expected cost: €50–€150. Expected lifespan: 2–3 years. After purchase: check attachment points every six months. Replace when you notice any fraying, brittleness, or sagging.
For Renters on the Fourth Floor and Above, or Any Athletic Cat
Best product: modular panel enclosure (aluminium or steel frame) or custom steel window enclosure. Modular panels: more structural than netting, look for systems that clip to railings rather than requiring drilling, include a roof panel — any enclosure without a roof allows exit via the top for a motivated climber. Custom steel window enclosure (BalconyCat): if your apartment has casement windows, this is the structurally soundest no-drill option available. Built to your exact window. Tested to 40 kg. Moves with you when you leave. Expected cost: €150–€400 (modular panels) or €899+ (custom steel).
For Owner-Occupiers Who Want the Definitive Solution
Professionally installed full balcony enclosure: custom-made to your balcony dimensions, drilled into the building structure, permanent, structurally complete. Cost: €500–€2,000+. Custom steel window enclosure (BalconyCat): if you want no modification to the building fabric but maximum structural containment at window level. No drilling, custom-fitted, permanent-quality build.
Fourth: Install It Properly
Regardless of what you’ve ordered, installation quality determines how well it works. For all balcony enclosure types: follow the installation guide exactly; use every fixing point provided; pay particular attention to corners — this is where 90% of failures start; check that the top seal is complete. For window enclosures: two people make installation significantly easier; the bracket should grip the window frame tightly — if it moves, tighten before continuing; test every panel after assembly. After installation, test it yourself before your cat uses it. Push on every panel. Attempt to find gaps at corners. If you find movement, address it before the cat finds the same point.
Fifth: Introduce Your Cat to the Space
Some cats go straight out and love it immediately. Others need a few days. If your cat is hesitant: leave the window or door open and let them investigate on their own timeline; sit on the balcony yourself — your calm presence signals the space is safe; put a familiar blanket or bedding near the threshold; don’t push or carry them out — let them choose it. Most cats are using the space confidently within a week.
What Most Apartment Cat Owners Wish They’d Done Earlier
They’d installed containment sooner. Not because something bad happened — but because once it was in place, they realised how much of their mental energy had been spent on low-level worry every time the window was open. The cat is happier. They’re happier. The balcony becomes something both of them use without the nervous tension. If you’re ready to make your apartment balcony safe, start with the assessment above and pick the product that fits your floor, your cat, and your tenancy. If that points toward a BalconyCat enclosure, we’re here.
We respond within 24 hours. Tell us about your balcony and your cat — we’ll tell you what fits.