DIY Balcony Catio: What Works, What Fails, and What to Know Before You Build
Building your own balcony catio is genuinely appealing. You control the materials, the size, the budget. If you are handy, you can produce something that works well and costs a fraction of a purpose-built enclosure. The problem is that most DIY balcony catios do not work well — and many stop being safe far sooner than their owners realise.
The Three Most Common DIY Approaches
Walk any cat owner forum or subreddit and you will find the same three DIY approaches repeated constantly. All three can work in the short term. None of them are without significant failure modes.
1. Zip Ties and Mesh Netting
This is the most common starting point: buy a roll of garden mesh or bird netting, attach it to the balcony railing and frame with zip ties or cable ties, and create a barrier around the balcony perimeter. Cost: very low. Time: a few hours. Initial result: usually looks fine.
The problems emerge quickly. UV exposure degrades both the zip ties and the mesh itself — typically within six to twelve months of outdoor exposure, both become brittle and snap under load. The attachment points are the weakest part. Zip ties loosen with temperature cycling — cold contracting the material, warmth expanding it, over and over through the seasons. What was tight in September is rattling loose by March. If you use this approach, budget to replace it every twelve months and inspect it every single week.
2. PVC Pipe Framing with Mesh Panels
A step up: construct a frame from PVC conduit or pipe, attach mesh panels to it, and use that frame to enclose the balcony space. This is more structural than zip ties alone and can produce something that looks quite solid. The problem is that PVC is also weak under lateral load. A cat jumping against a panel, or hanging off a mesh section, introduces exactly the kind of sideways force that PVC frames are not designed to handle. Joints pop. Frames flex. Over time — and more quickly in direct sun — the PVC itself becomes brittle and will crack rather than bend. PVC framing is fine for a greenhouse. It is marginal for anything that needs to contain a cat reliably.
3. Wooden Frame Construction
A wooden frame with wire mesh panels is the most structurally sound DIY approach. Properly built, using treated timber and a quality welded wire mesh, it can last several years. The failure modes are different: wood outdoors absorbs moisture, expands, contracts, and eventually splits or rots at the joints. Untreated timber will begin deteriorating within a season in most European climates. If you go this route, use outdoor-rated screws, apply wood preservative annually, and inspect every joint at the start of each season. Plan on rebuilding every three to five years. One additional concern: wooden frames built in situ become a semi-permanent feature — not acceptable in most rented flats.
The Material That Most DIY Builds Get Wrong: The Mesh
The frame is what most people focus on. The mesh is what actually determines safety. Chicken wire is the most commonly used DIY mesh. It is cheap, available everywhere, and completely wrong for this application. It is not a load-bearing structural material. The wire gauge is thin, the hexagonal weave provides almost no rigidity, and it deforms under pressure. A cat can push through a poorly-tensioned section of chicken wire with sustained effort. It also corrodes relatively quickly unless galvanised.
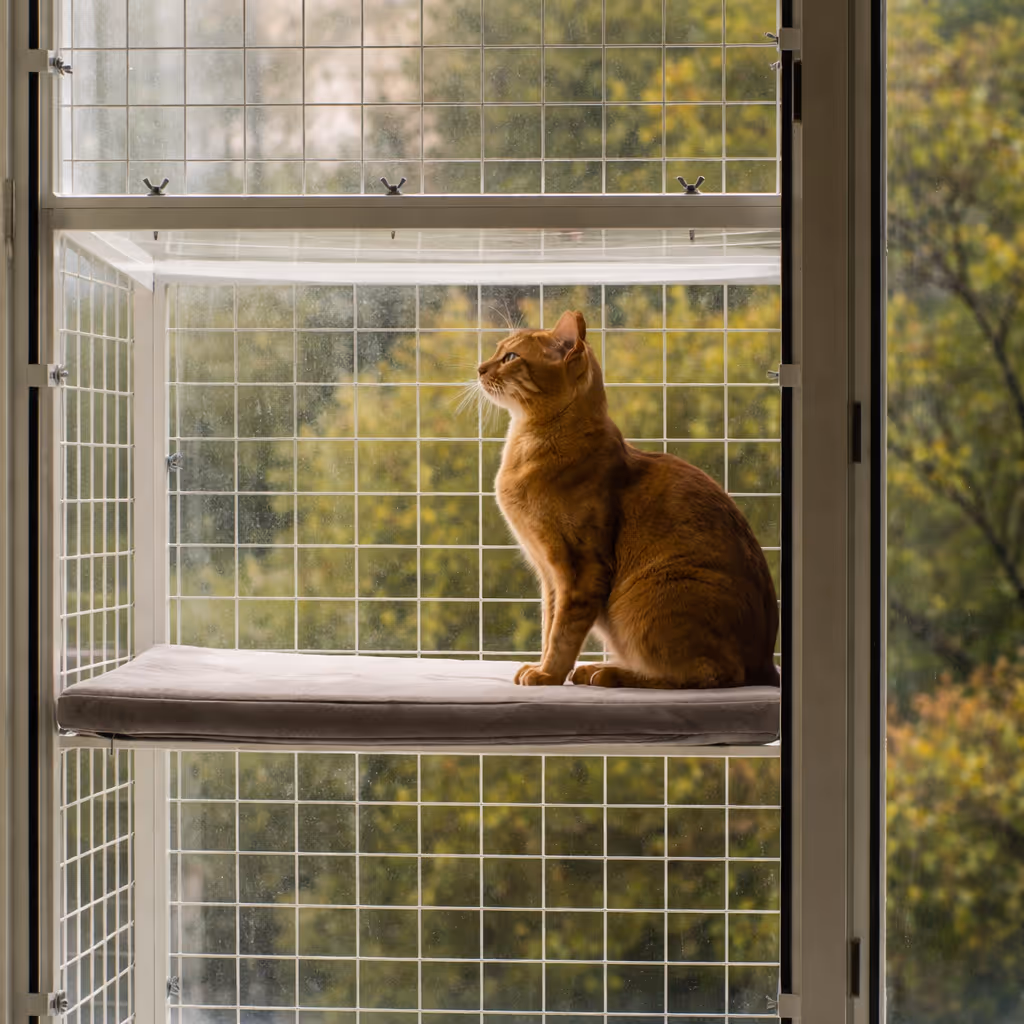
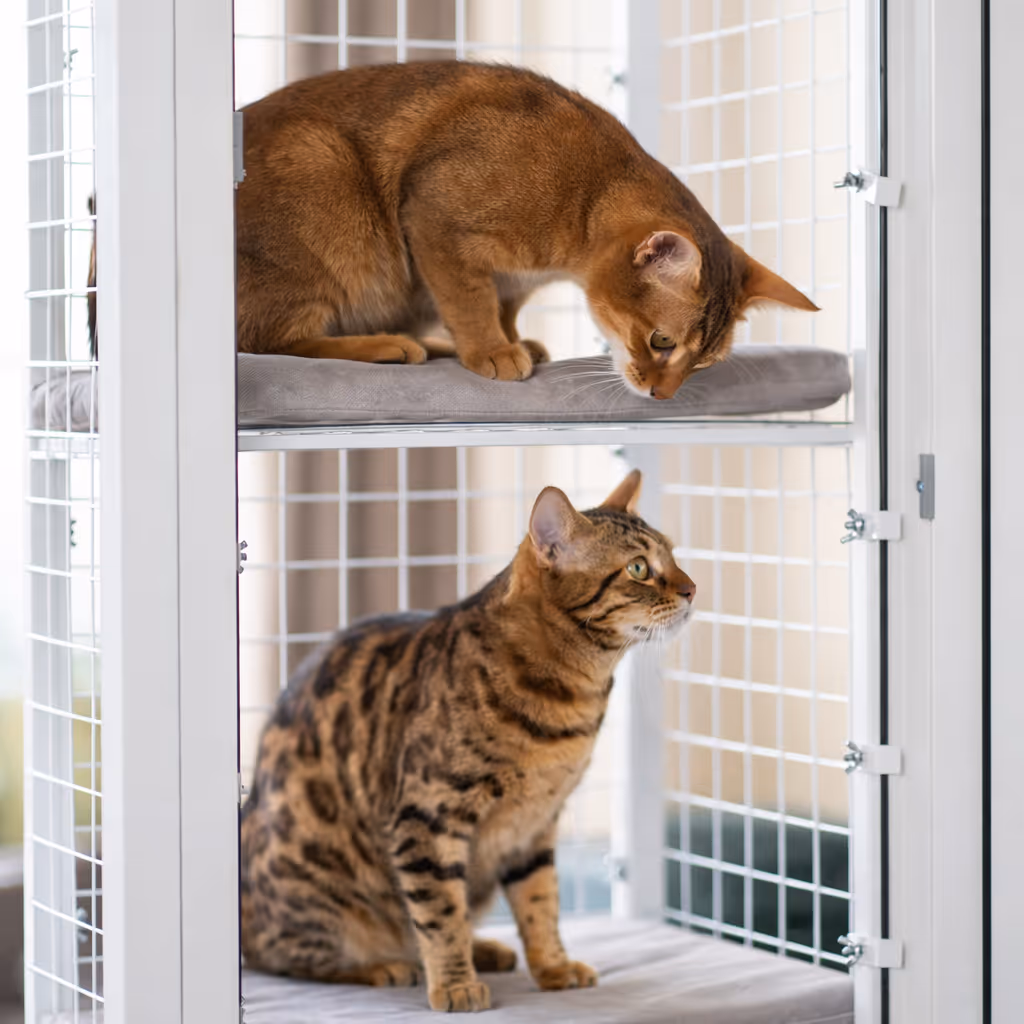
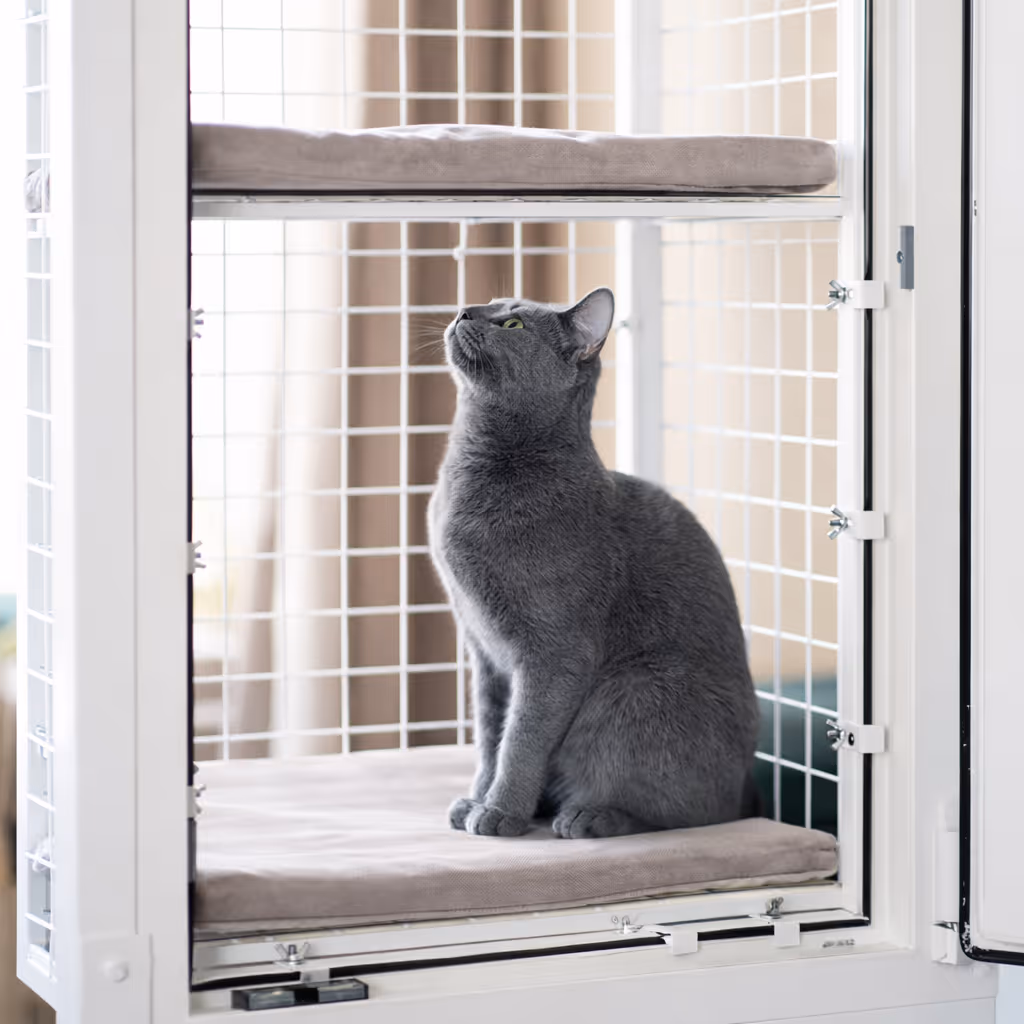
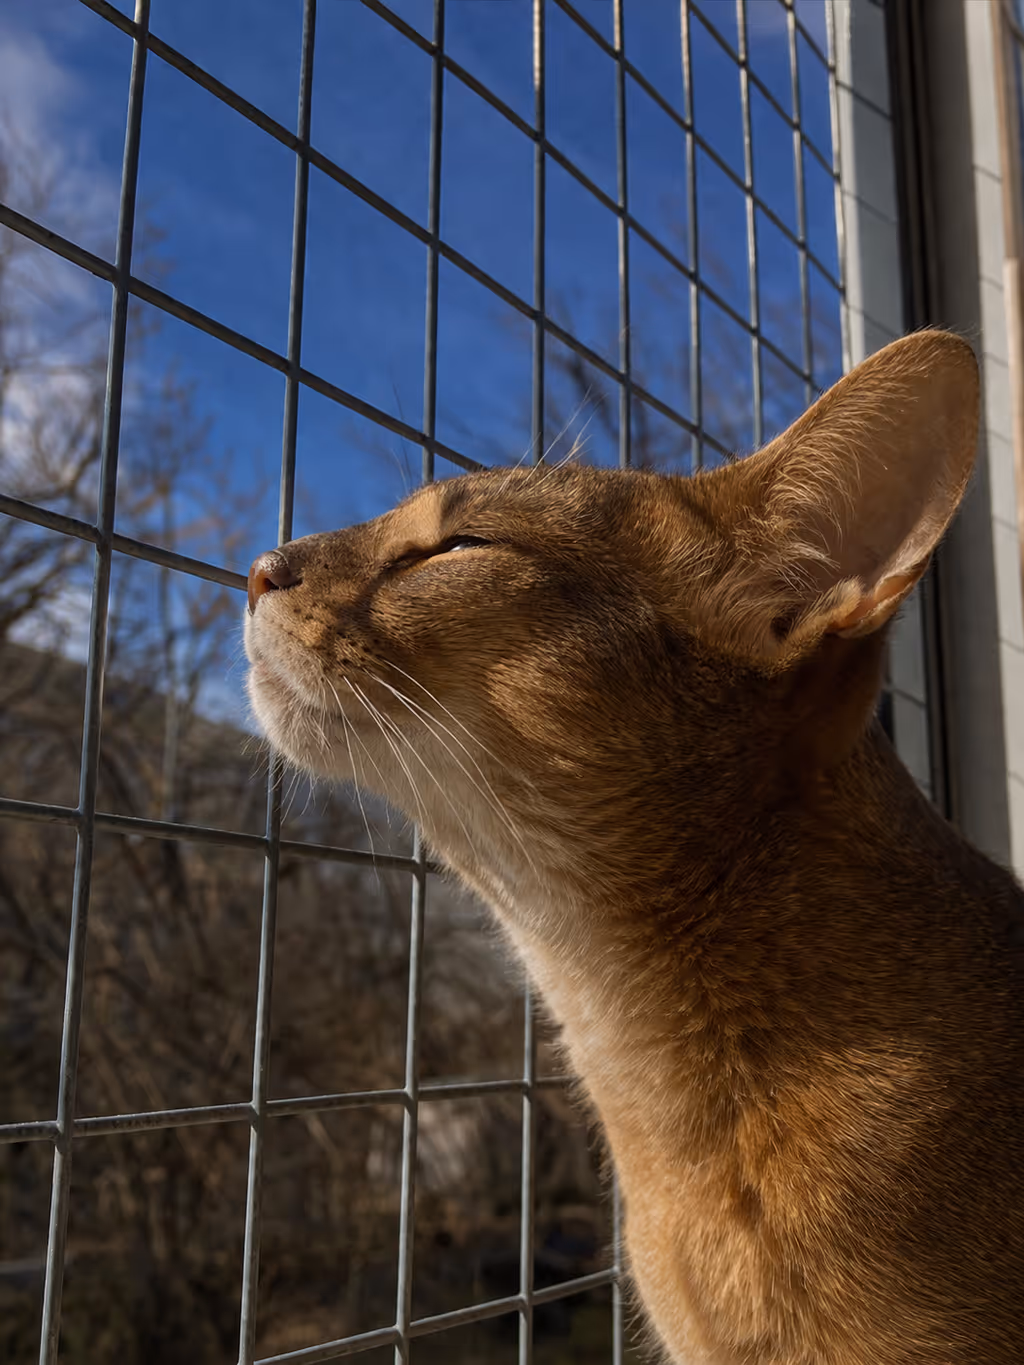
The correct material is welded wire mesh — a grid of steel rods that are welded at every intersection, not woven. The mesh size matters: 5x5cm is appropriate for adult cats. For kittens or smaller breeds, 2.5x2.5cm mesh prevents heads and paws getting caught. Welded wire mesh is heavier, harder to work with, and significantly more expensive than chicken wire. It is also the only mesh that provides genuine structural security.
Load Testing: The Step Most DIY Builders Skip
The most important thing you can do after building any cat enclosure — DIY or purchased — is test it yourself before your cat uses it. Not visually inspect it. Physically test it.
Push against every panel. Pull at the frame. Put your hands on the mesh and apply real force. Hang on the sections your cat is most likely to climb or press against. If anything moves, flexes, rattles, or shifts — it needs reinforcement before your cat goes near it. A cat can exert surprisingly significant force for its body weight, particularly a large breed or an athletic climber. The enclosure has to be able to handle that force without yielding.
Most DIY builds, when tested honestly, reveal at least one point of weakness immediately. Fix those points before you consider the build complete.
When DIY Makes Sense and When It Doesn’t
DIY makes sense when: you have genuine structural skills, you are using the right materials (welded mesh, treated timber or steel framing), you have the time to maintain it properly, and you own your home or have landlord agreement for a semi-permanent structure.
DIY does not make sense when: you need a no-drill, fully removable solution; you are on a high floor where a failure has serious consequences; you have a non-standard window type that makes a custom fit complicated; or you want something that will still be safe in five years without ongoing maintenance. For those situations, the cost of a professionally built, load-tested, custom-made steel enclosure is not a luxury — it is the correct answer to a problem that has real consequences if it goes wrong.
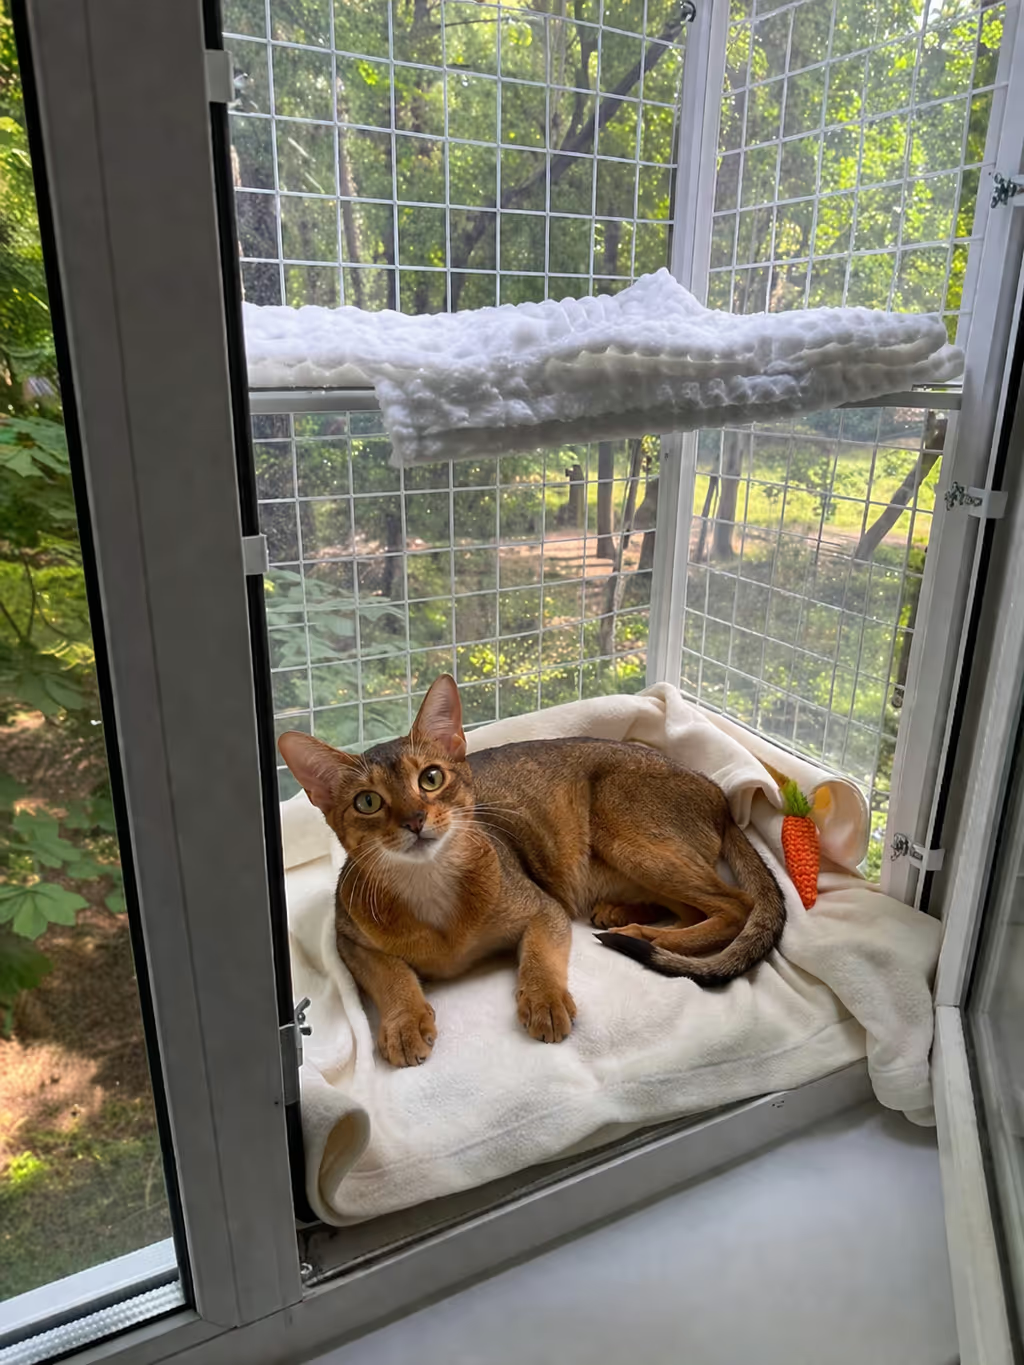
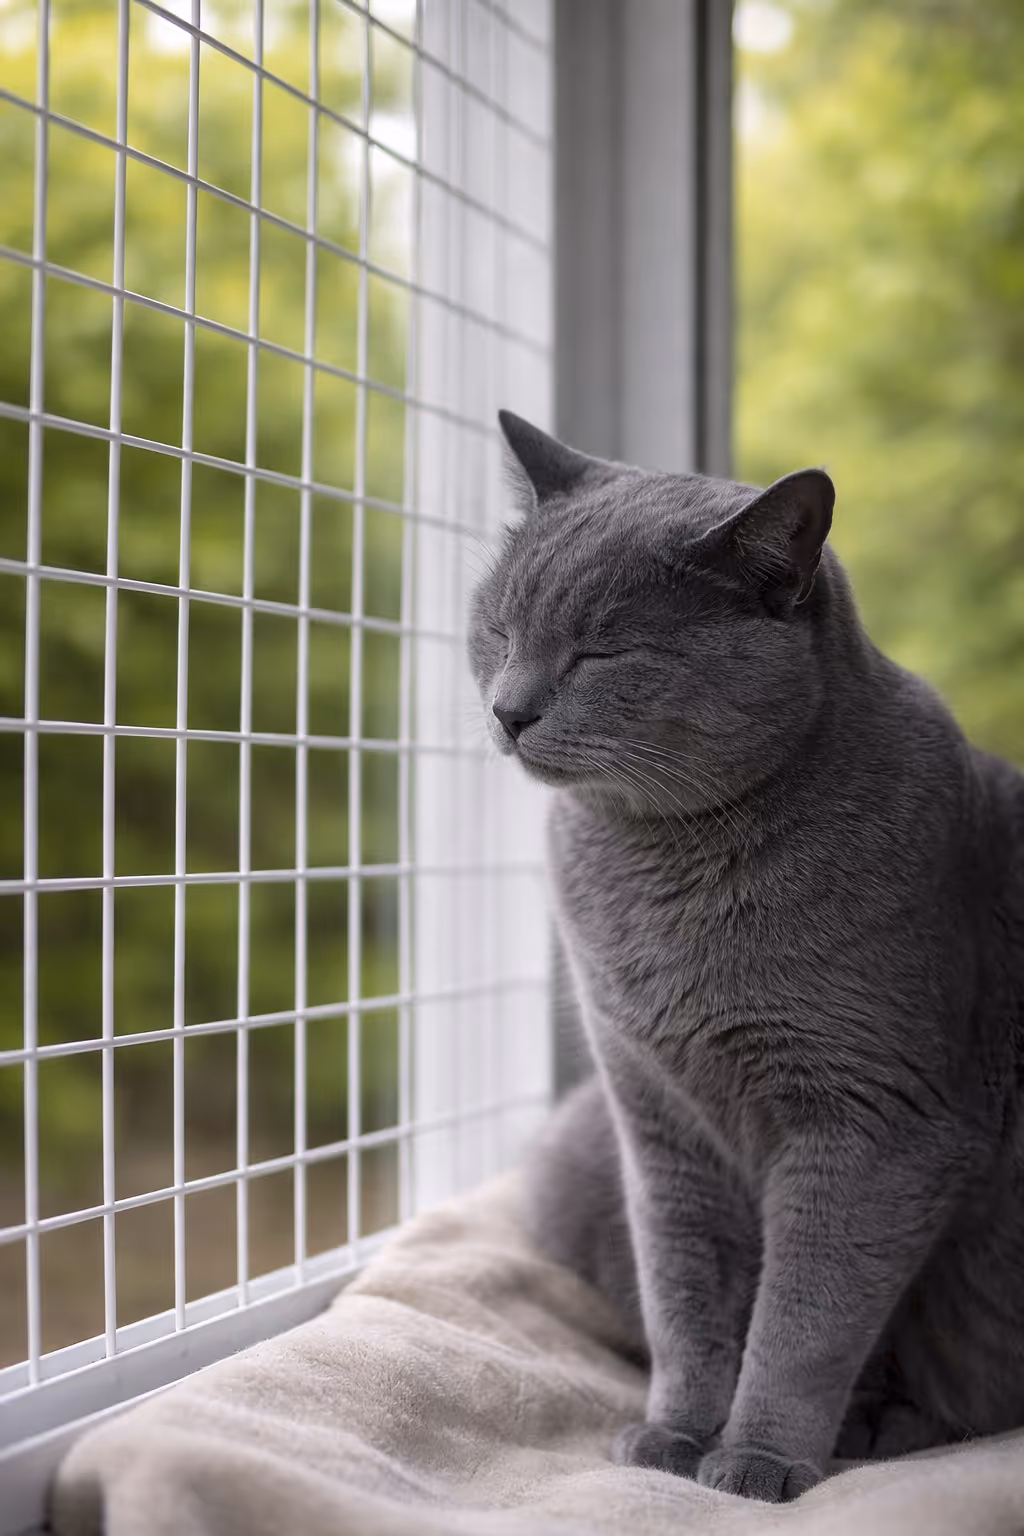
A Note on Window Enclosures vs. Full Balcony Catios
One option many apartment cat owners do not consider: a window-mounted enclosure rather than a full balcony structure. If your goal is giving your cat safe access to fresh air, outdoor sights, and the feeling of being outside — a window enclosure achieves exactly that without requiring you to manage a balcony structure at all. It attaches to the window frame, extends outside, and gives your cat a secure space to sit, sniff, and watch the world.
For cats in flats where the balcony is either too small for a full catio, not suitable for DIY construction, or subject to rental restrictions — a window enclosure is often the cleaner solution. No drilling. No ongoing maintenance. Built from galvanised steel, powder-coated, and load-tested to 40 kg. Custom-measured to your exact window.
Want to talk through what fits your specific window? We’re here — no commitment, just a conversation.